Posted on Leave a comment

How To Grow Azaleas

How To Grow Azaleas

Articles

How To Grow Azaleas

How To Grow Azaleas

Learn to grow azaleas from the pros! Azaleas, which can be beautiful, come in a variety of colors, sizes and shapes, making them popular for many locations. However, azaleas can be difficult to grow – especially in areas where the summers are too hot and the winters too cold (like in Tennessee and Texas!).


Azaleas have a few basic needs that must be met if you want them to thrive. They require attention to detail. But it can be done, and we are here to help you navigate the waters (and soils!).

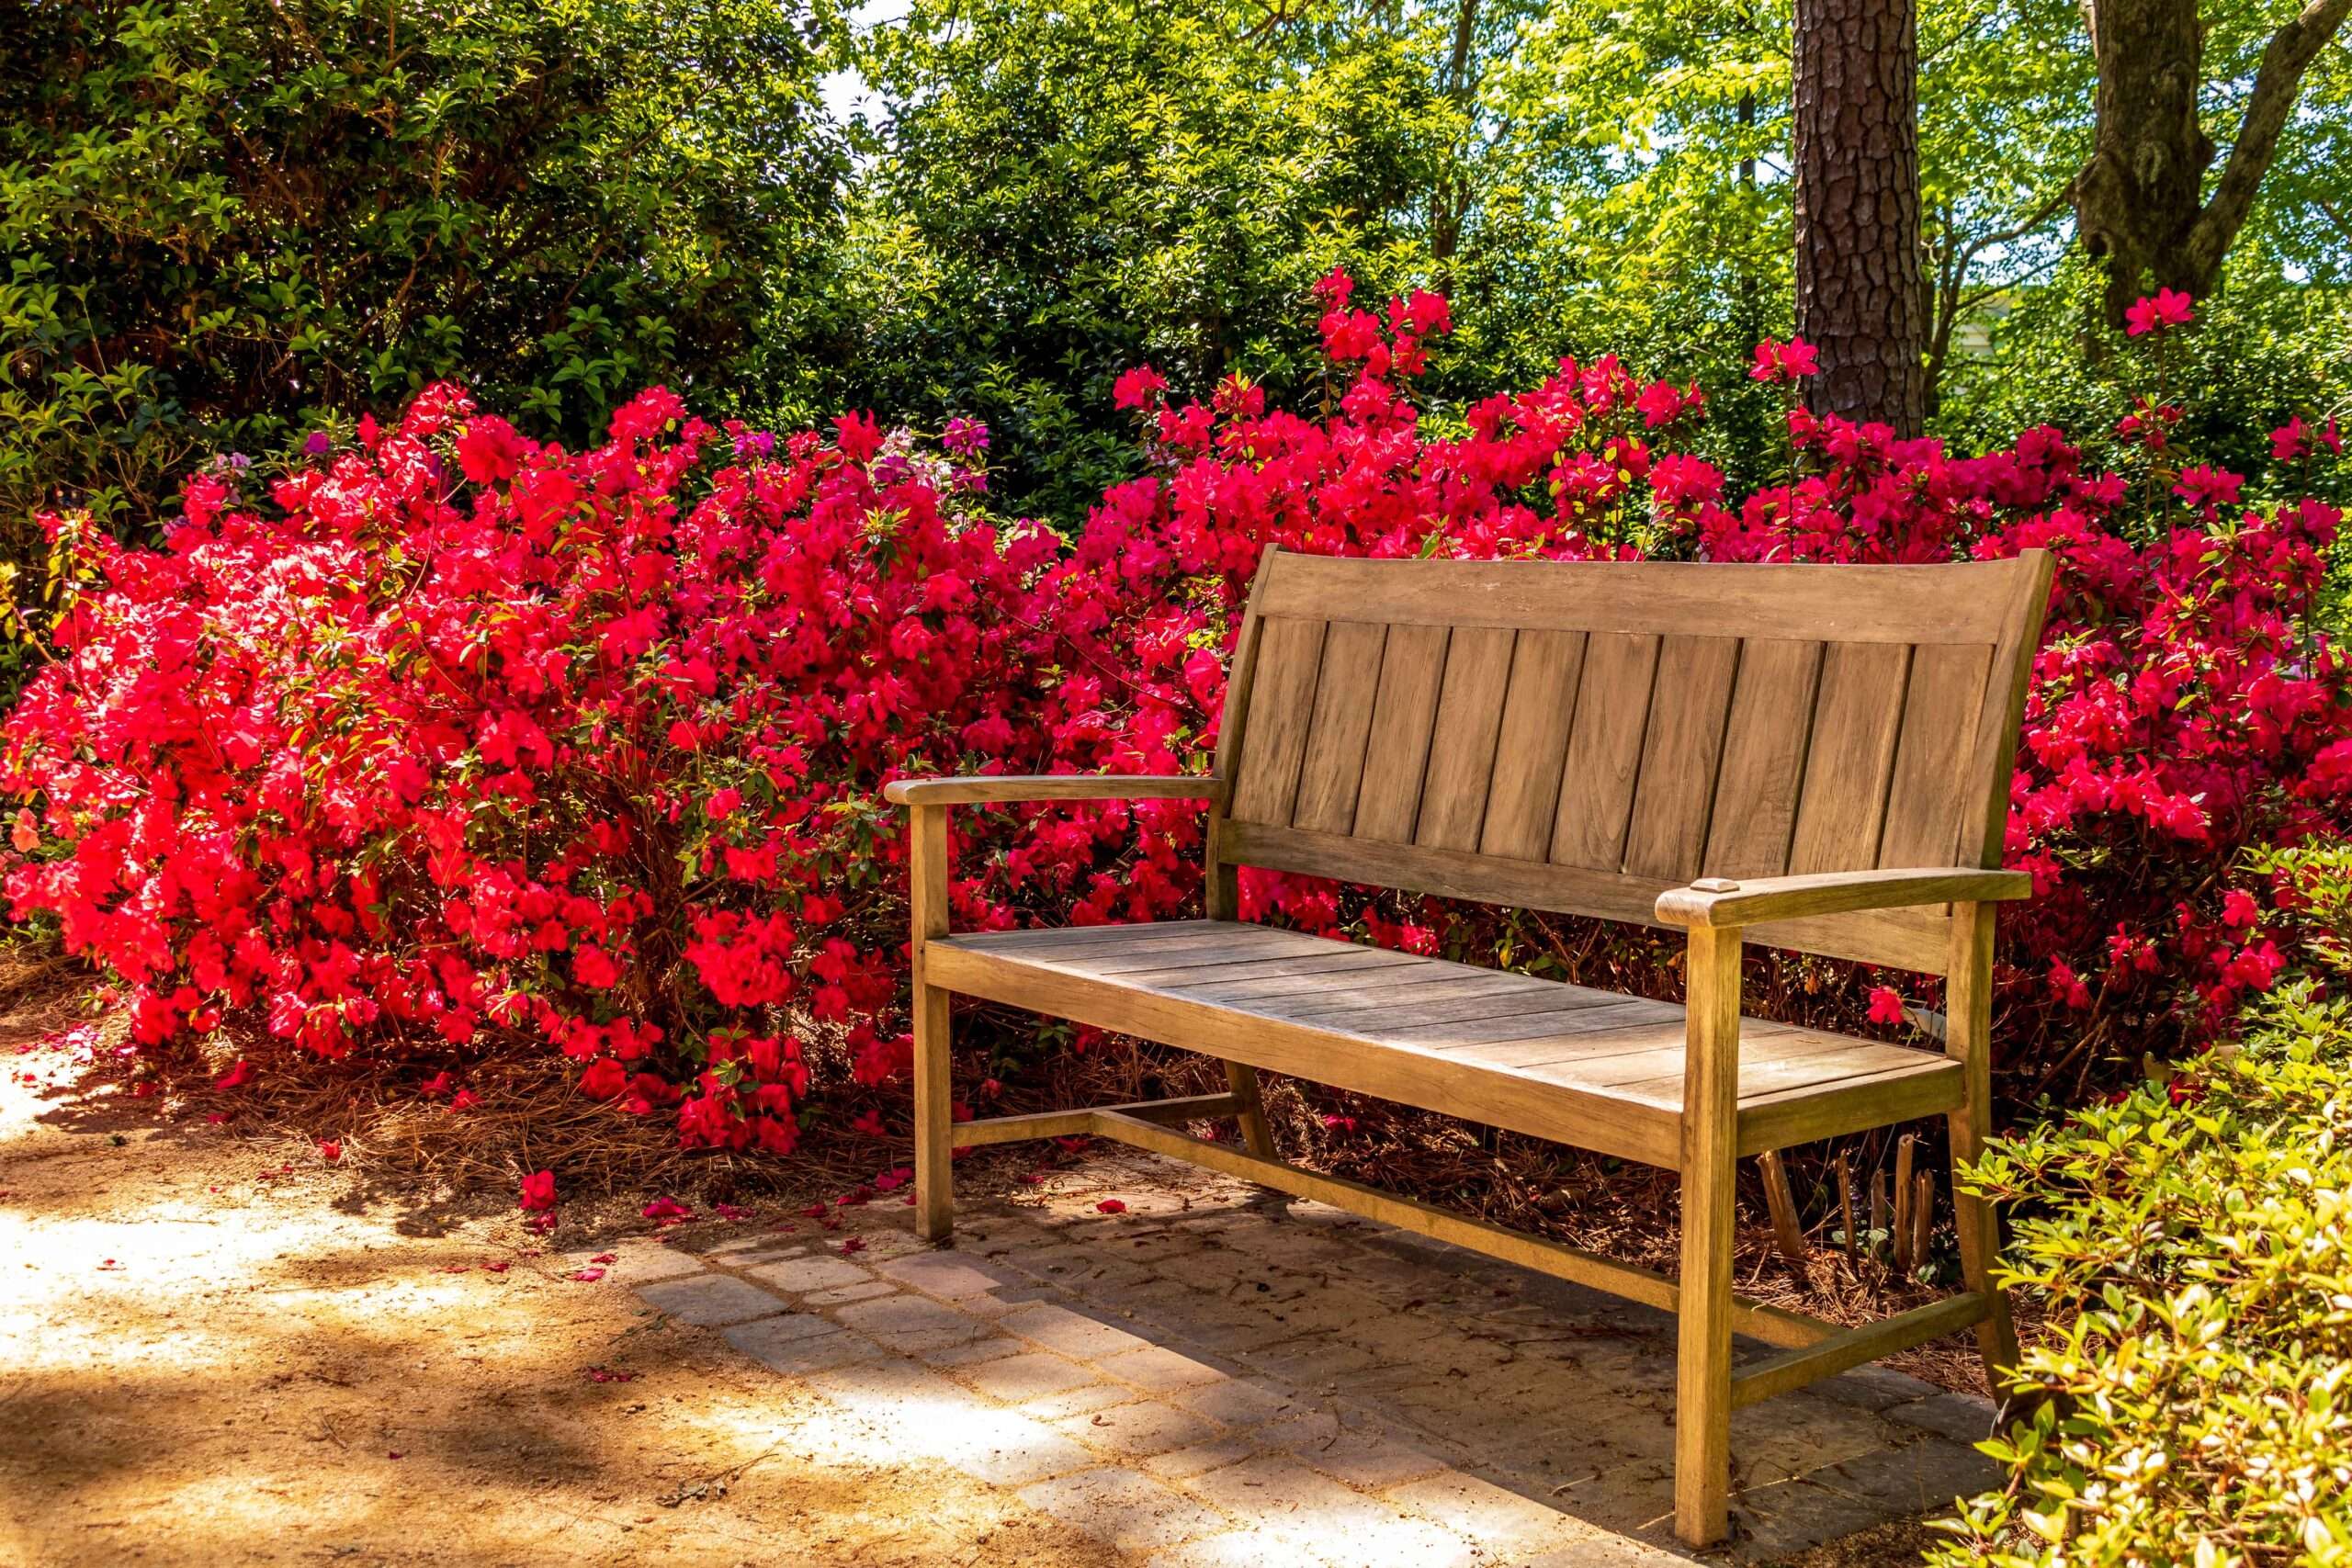
Location, location, location!

Space azaleas depending on their kind. Most varieties require dappled shade; avoid deep shade or full sun. The ideal planting location for most azaleas would be under a tall canopy, with bright morning sun and afternoon shade, but they will survive and even thrive in less than perfect placement.

Soil matters.

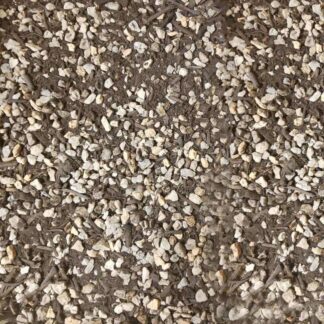
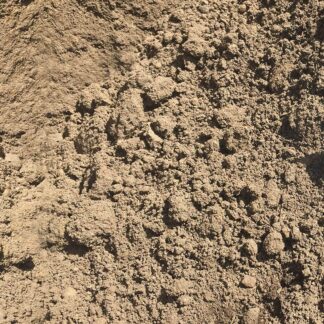
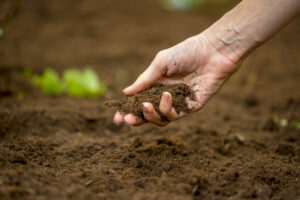
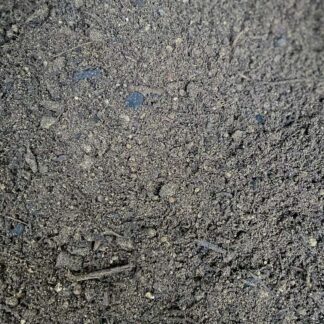
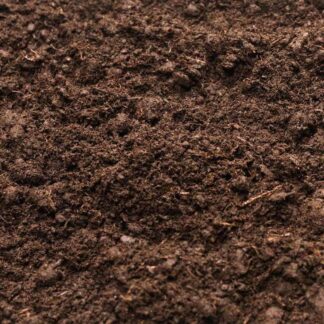
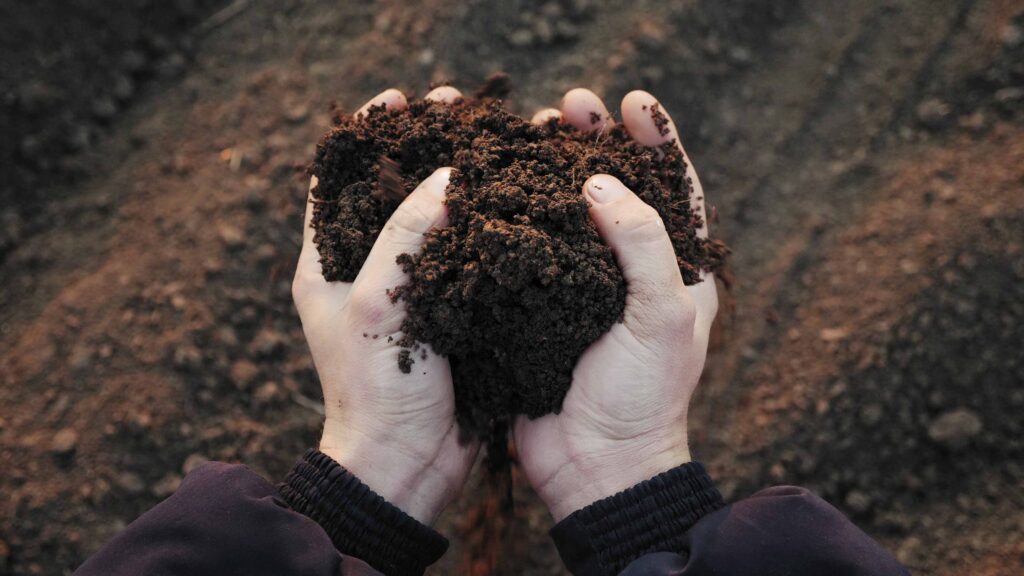
Oftentimes, gardeners who get the location right, may get the soil composition wrong. Azaleas like acidic soil. The shallow roots of azaleas grow best in a well-aerated, nutrient-rich mixture. To insure you are using the best possible soil, buy one specifically formulated or recommended for azaleas from a trusted source.

Living Earth’s Acidic Plant Mix (Texas only) has an initial pH of 5.5-6.5 and is ideal for azaleas. Also popular for growing azaleas, Magic Mix (Tennessee) is a special blend that includes leaf-based compost rich in nitrogen.

Raise the beds.

Azaleas do not like “wet feet” so raised beds (15”) and proper drainage are critical. If you use the above application, your bed should be raised just high enough for better drainage.

How to stratify.

For best results, add six inches of acidic soil to your garden and work it into the existing soil. Then, add another six inches of acidic soil and work it in… followed by another six inches. This technique stratifies the soil so that the planting soil blends nicely into the surrounding soil for better long term root transition.

Fertilize with recommended azalea feed soon after planting. Do not fertilize after August.

Prepare azaleas for freezing weather.

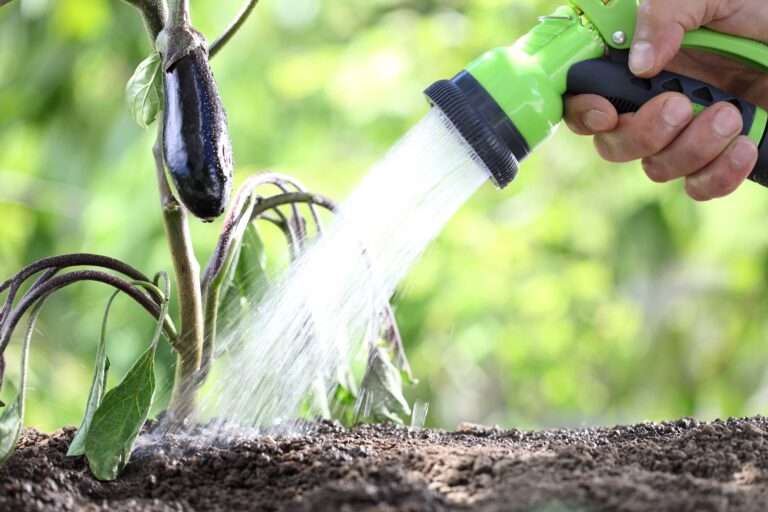
Before freezing temperatures occur, ensure the soil around your plants has plenty of residual moisture. If rainfall has been scarce during the fall, deeply water landscape plants every week or 10 days until the first hard freeze.
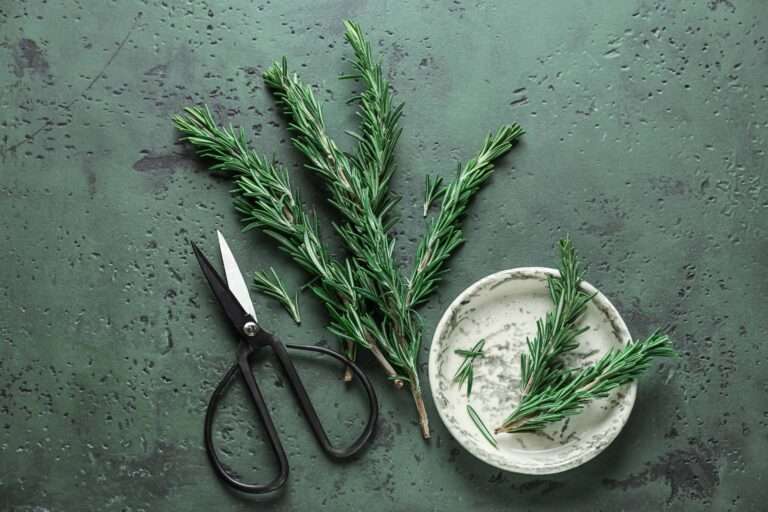
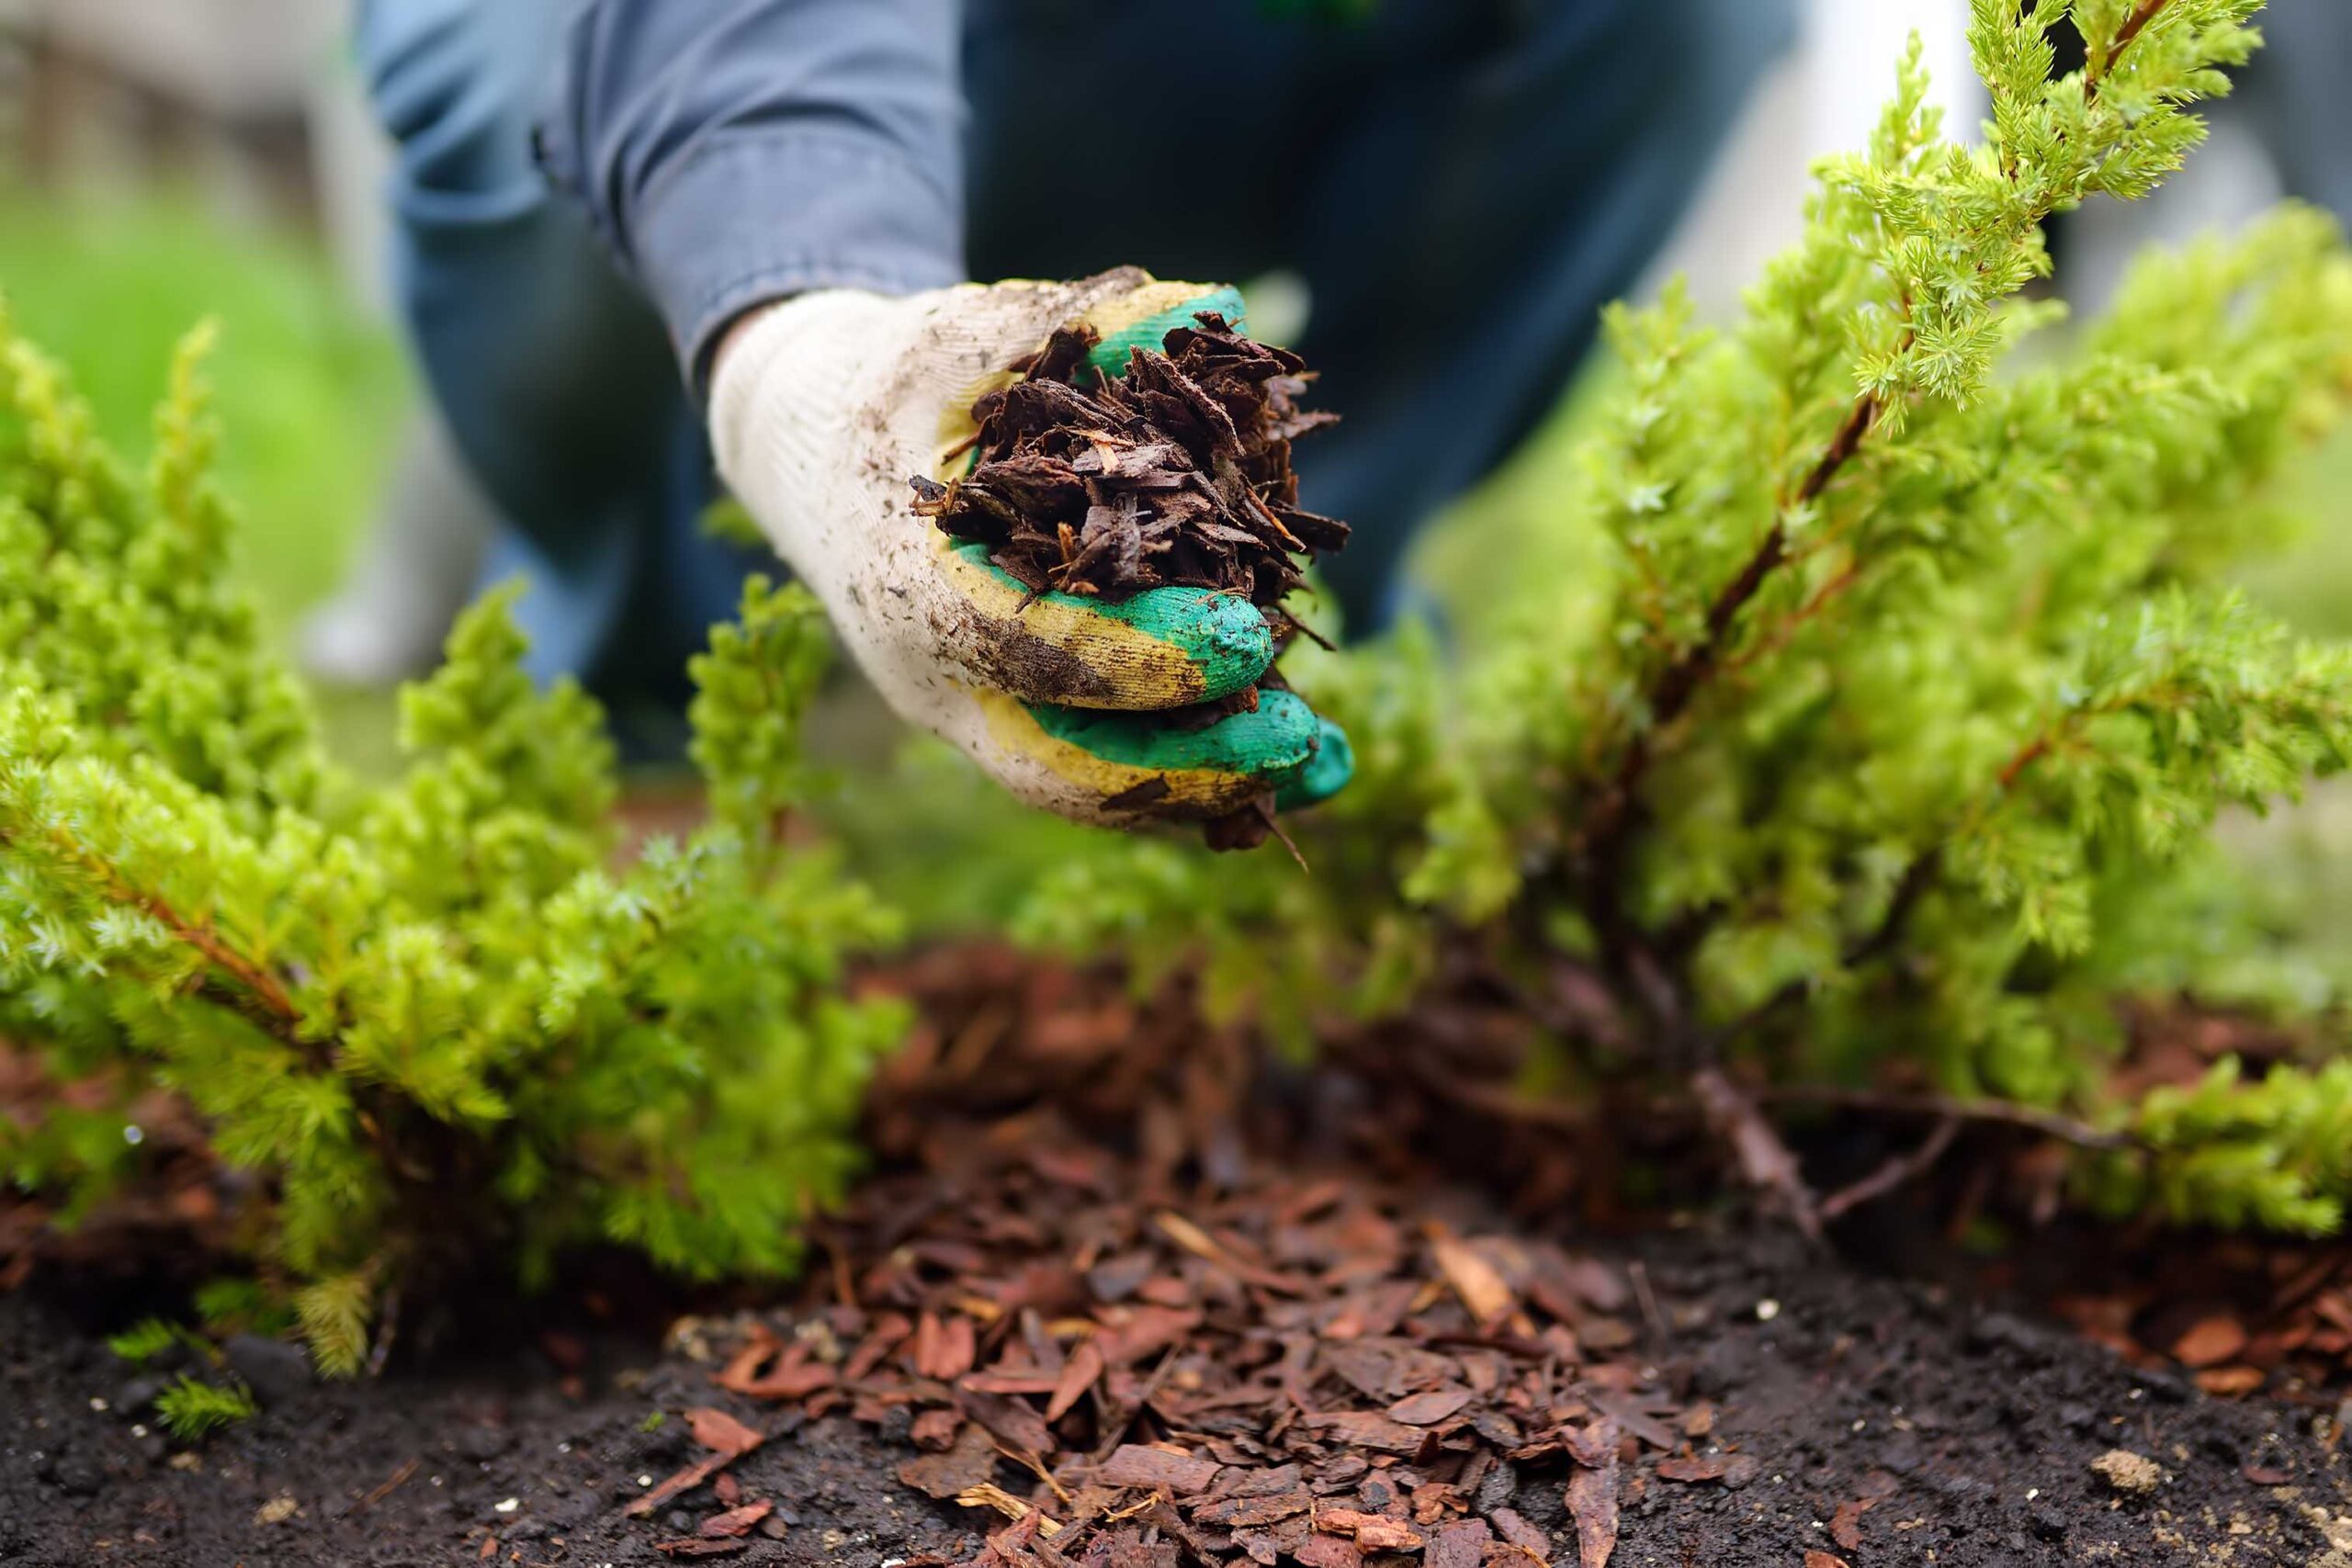
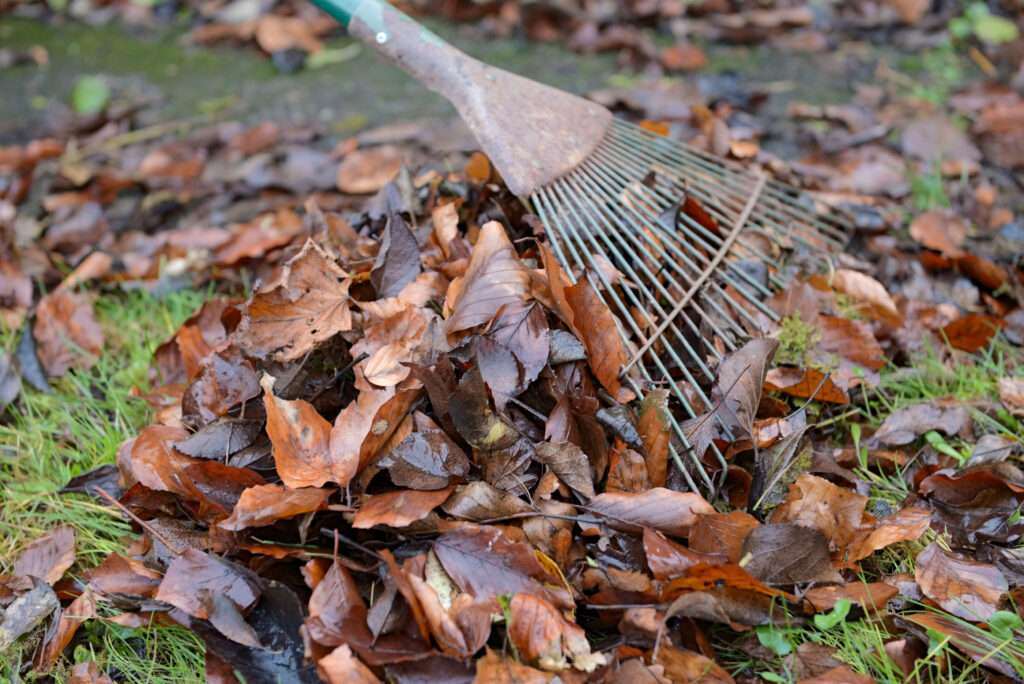
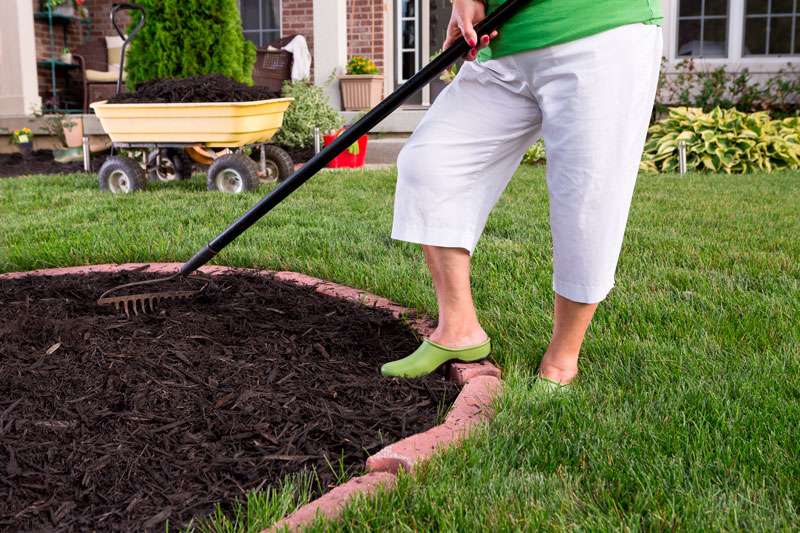
Pine Bark Mulch; How To Grow Azaleas

Mulching helps.

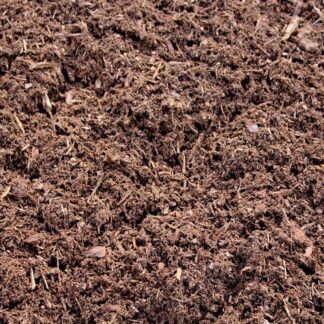
Mulch can be applied any time, although it’s best to add about 4 inches of mulch in fall to protect the roots from first frost. A quality, eco-friendly mulch such as Living Earth’s Pine Bark Mulch will keep azalea’s shallow roots safe from the outside environment while retaining moisture as the temperatures drop. And, as it decomposes, it adds rich organic matter into the soil.

Taken good care of your azaleas and they won’t disappoint you once they start blooming next spring! If you need advice on growing azaleas or other acidic soil loving plants, contact Living Earth® today!


Posted on Leave a comment

Fall Gardening Tips

Fall Gardening Tips

Articles

Fall Gardening Tips

Tips for fall gardening

Autumn is an excellent time of year for gardening. The weather is mostly agreeable with golden sunshine and increased rainfall. Fall gardens may be going dormant soon, but there’s still time for ripe edibles and pretty petals! Follow our fall gardening tips to get the most out of the season.

Keep up with vegetables. Many vegetables will revive and continue producing if you regularly harvest them while they are young and tender. If it’s not too late in the season, there may be time to plant a fall crop of peas and spinach.

Remember to deadhead. Late summer can turn any landscape into a mess of falling, brown plants trying for one last round of blossoms. Removing their dying portions helps them spend energy on final blossoms. It also means less garden cleanup work later in fall.

Plant cool-weather herbs. When it comes to the best herbs to grow in the fall and winter, you’ll want to check to see in which USDA hardiness zone you’re located. These zones, which are based on temperature, are key for helping gardeners understand what herbs will work best for their particular gardens.


Pick your herbs for fresh use and for drying. Most herbs have a more concentrated flavor if they are not allowed to flower and frequent harvesting will accomplish that. Harvesting will encourage them to send out fresh, new growth and keep them growing longer.

Is it time for mulch? Check your mulch. If it is decomposed, add more as needed. Organic mulch is meant to slowly decompose on your garden beds and help feed the soil. Even though you may not plan to plant over the fall and winter, keep your soil covered to keep weeds at bay.

If whole plants need to be removed, make sure to fill in empty spaces. Use mulch, layer gardening techniques, cover crops or even fall plantings. Just don’t leave the ground bare to invite weeds and pests.

Spread a mid-season layer of moist organic compost. Your plants will appreciate the extra boost to get them through the final growing months. Your soil may need some amendments, too (like a clay soil conditioner or a sandy loam).

Plant trees in the fall.  The milder season is great for planting shrubs and perennials too. Keep them well watered, helping them to take root until the ground freezes.

How to make compost. If you haven’t created one already, a DIY compost pile is a simple weekend effort that will yield excellent returns. Add organic materials like rotted vegetables, plant scraps and leaves to create a mulch pile that can be used as compost later.

By the time the last of the harvest is gone from your garden, your compost and mulch will be ready to spread, enhancing the growing spaces for next year.

Don’t forget to water! The very best time to water plants is in the early morning, while it is still cool. This will allow the water to run down into the garden soil and reach the roots of the plant without too much excess water lost to evaporation.

Watering in the early morning will also make the water available to the plants throughout the day so that the plants will be able to deal better with the heat of the sun.

Watering in the evening can allow moisture to their leaves staying wet overnight can cause disease. No plants should have their leaves wet deliberately in the evening, especially disease-prone ones like tomatoes, roses and lilacs.

Enjoy the fall season!


Posted on Leave a comment

About Raised Garden Beds

Raised Garden Beds

Articles

About Raised Garden Beds

Reap Your Rewards!

Raised Garden Beds

There is some disagreement over raised beds. Good or bad? Tended properly, they can be great! A garden built up instead of down can solve a lot of common issues ranging from wet root zones to weeds. Even better – they are ideal for new gardeners!

Unlike a planter, raised garden beds to not have a bottom. With all the added nutritious soil on top of the ground, plant roots can grow further into the ground without dealing with weeds, resulting in healthier plants.

          ·      Easier on your back and knees

          ·       Warmer soil earlier in the season

·       Better water retention for those struggling with sandy soil

·       Better drainage for those dealing with clay soil

·       Less soil erosion

·       Less compaction

·       Improved soil quality

·       Healthier plants

Raised Garden Beds
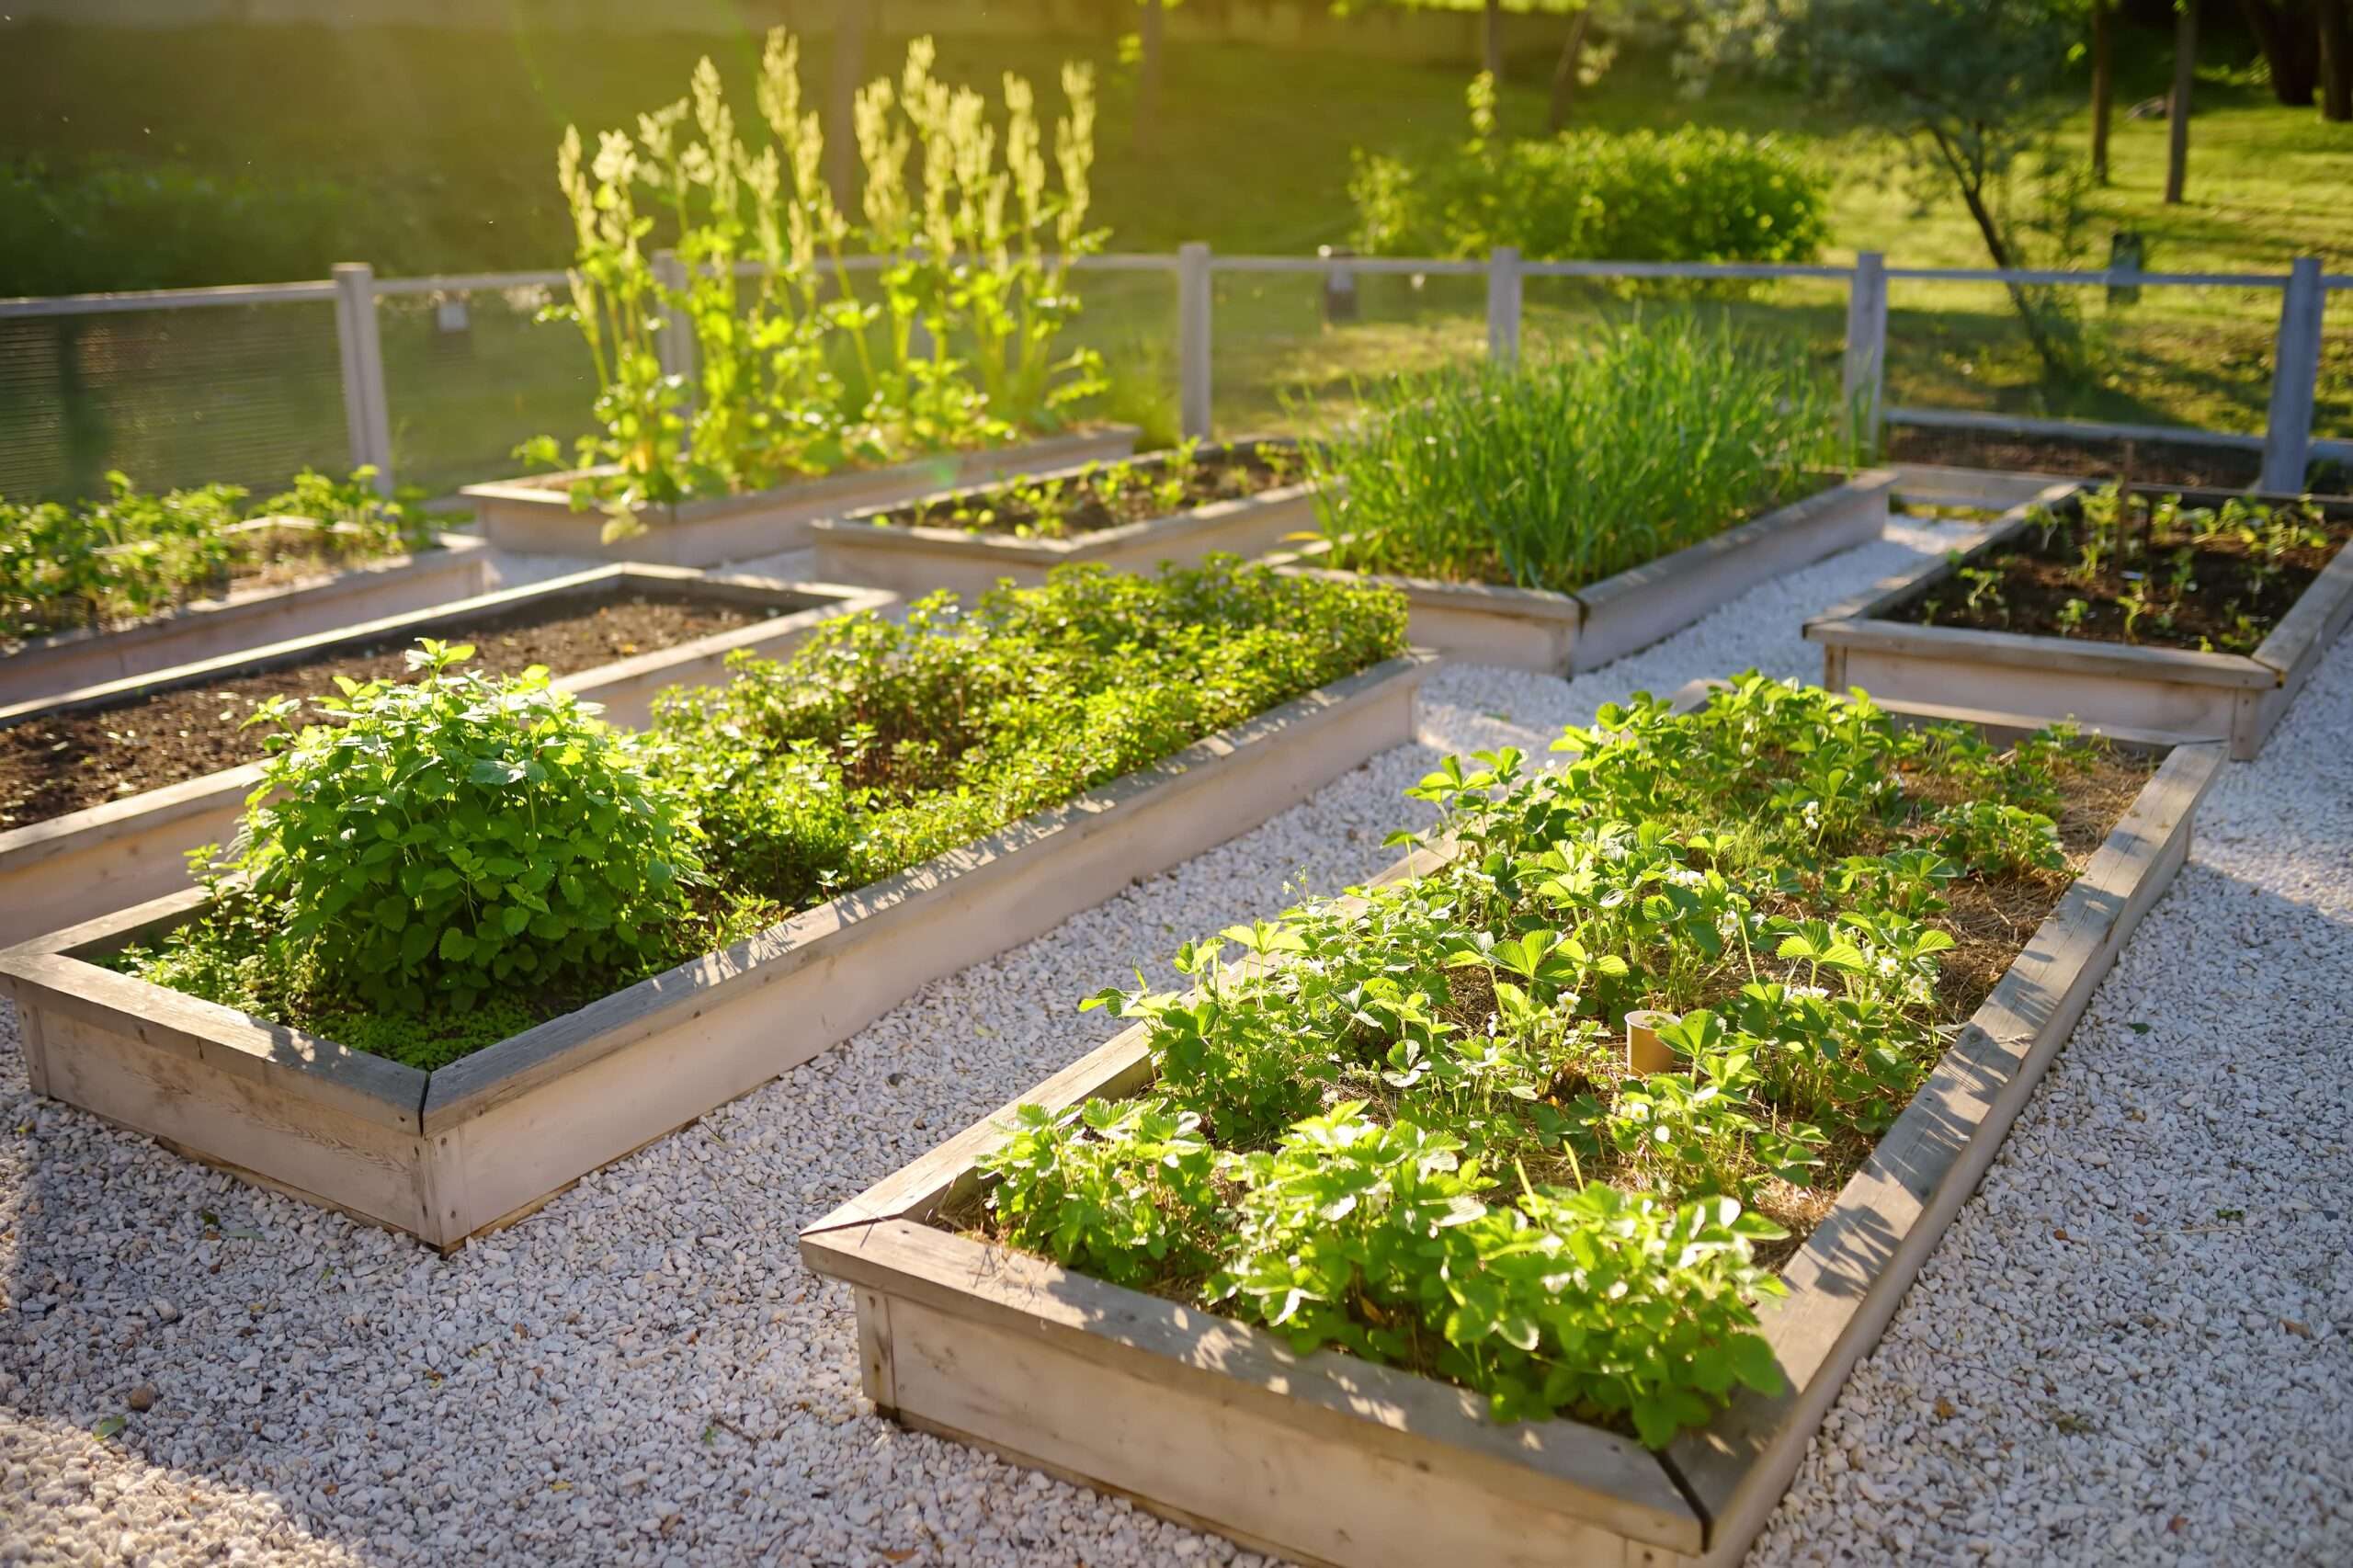
Are you on board yet? Good! First, you need to decide if you will buy your bed or if you prefer to make it yourself. Wood or galvanized steel?  Either way, consider the size. We recommend four feet wide by eight feet long and one to two feet deep. Once you have decided on whether to build your garden bed walls yourself or buy a kit, the rest is easy!

If you haven’t already, it’s time to decide what you want to grow. Some plants require more sun, more soil or a specific type of soil. Once you know what you’d like to grow and approximately how much sunshine you need, find a flat spot. If necessary, do a little digging to ensure the walls are even and stable.

Raised Garden Beds

Next, decide if you’d like to put something at the bottom of your raised bed. If your raised bed is 6 inches or less in depth, then you don’t need a barrier. This is because the roots of the plants growing in your raised beds require space to develop and grow. A bottom may prevent this from happening.

However, if you’d like a better deterrent for weeds and more control over your soil content, consider adding a bottom. There are a lot of options that work: cardboard, newspaper, landscaping fabric and burlap may be the most popular.

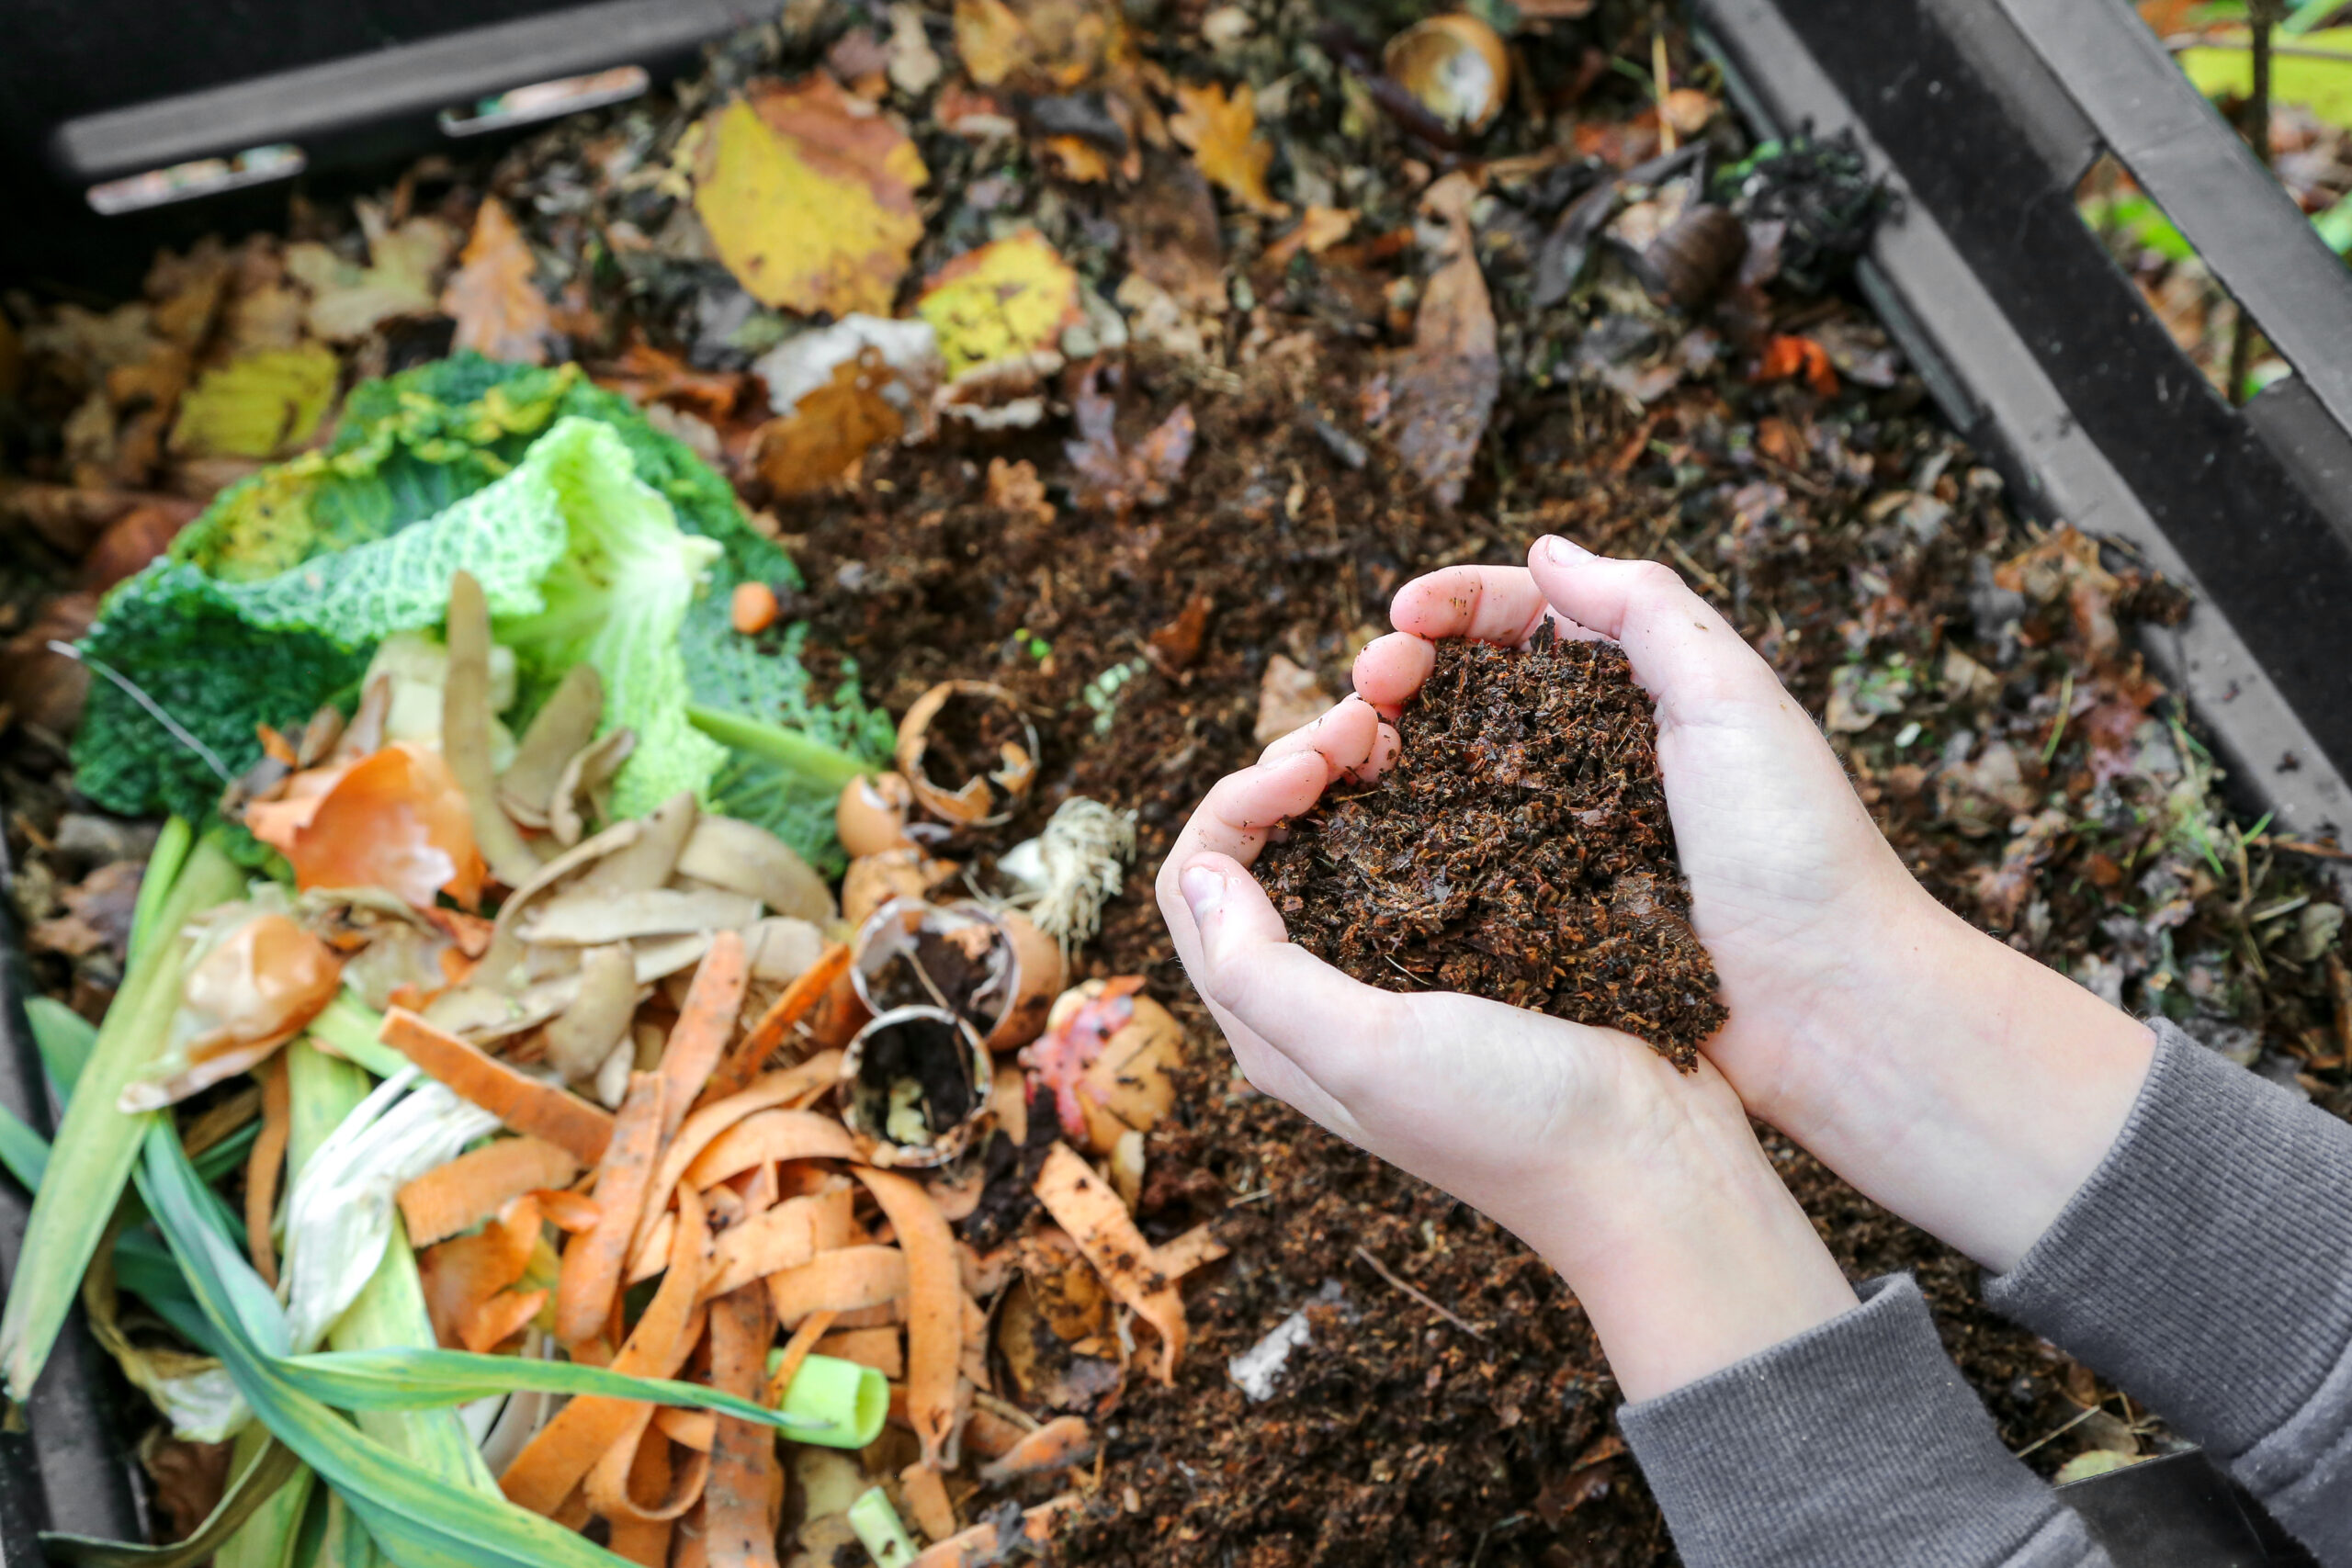
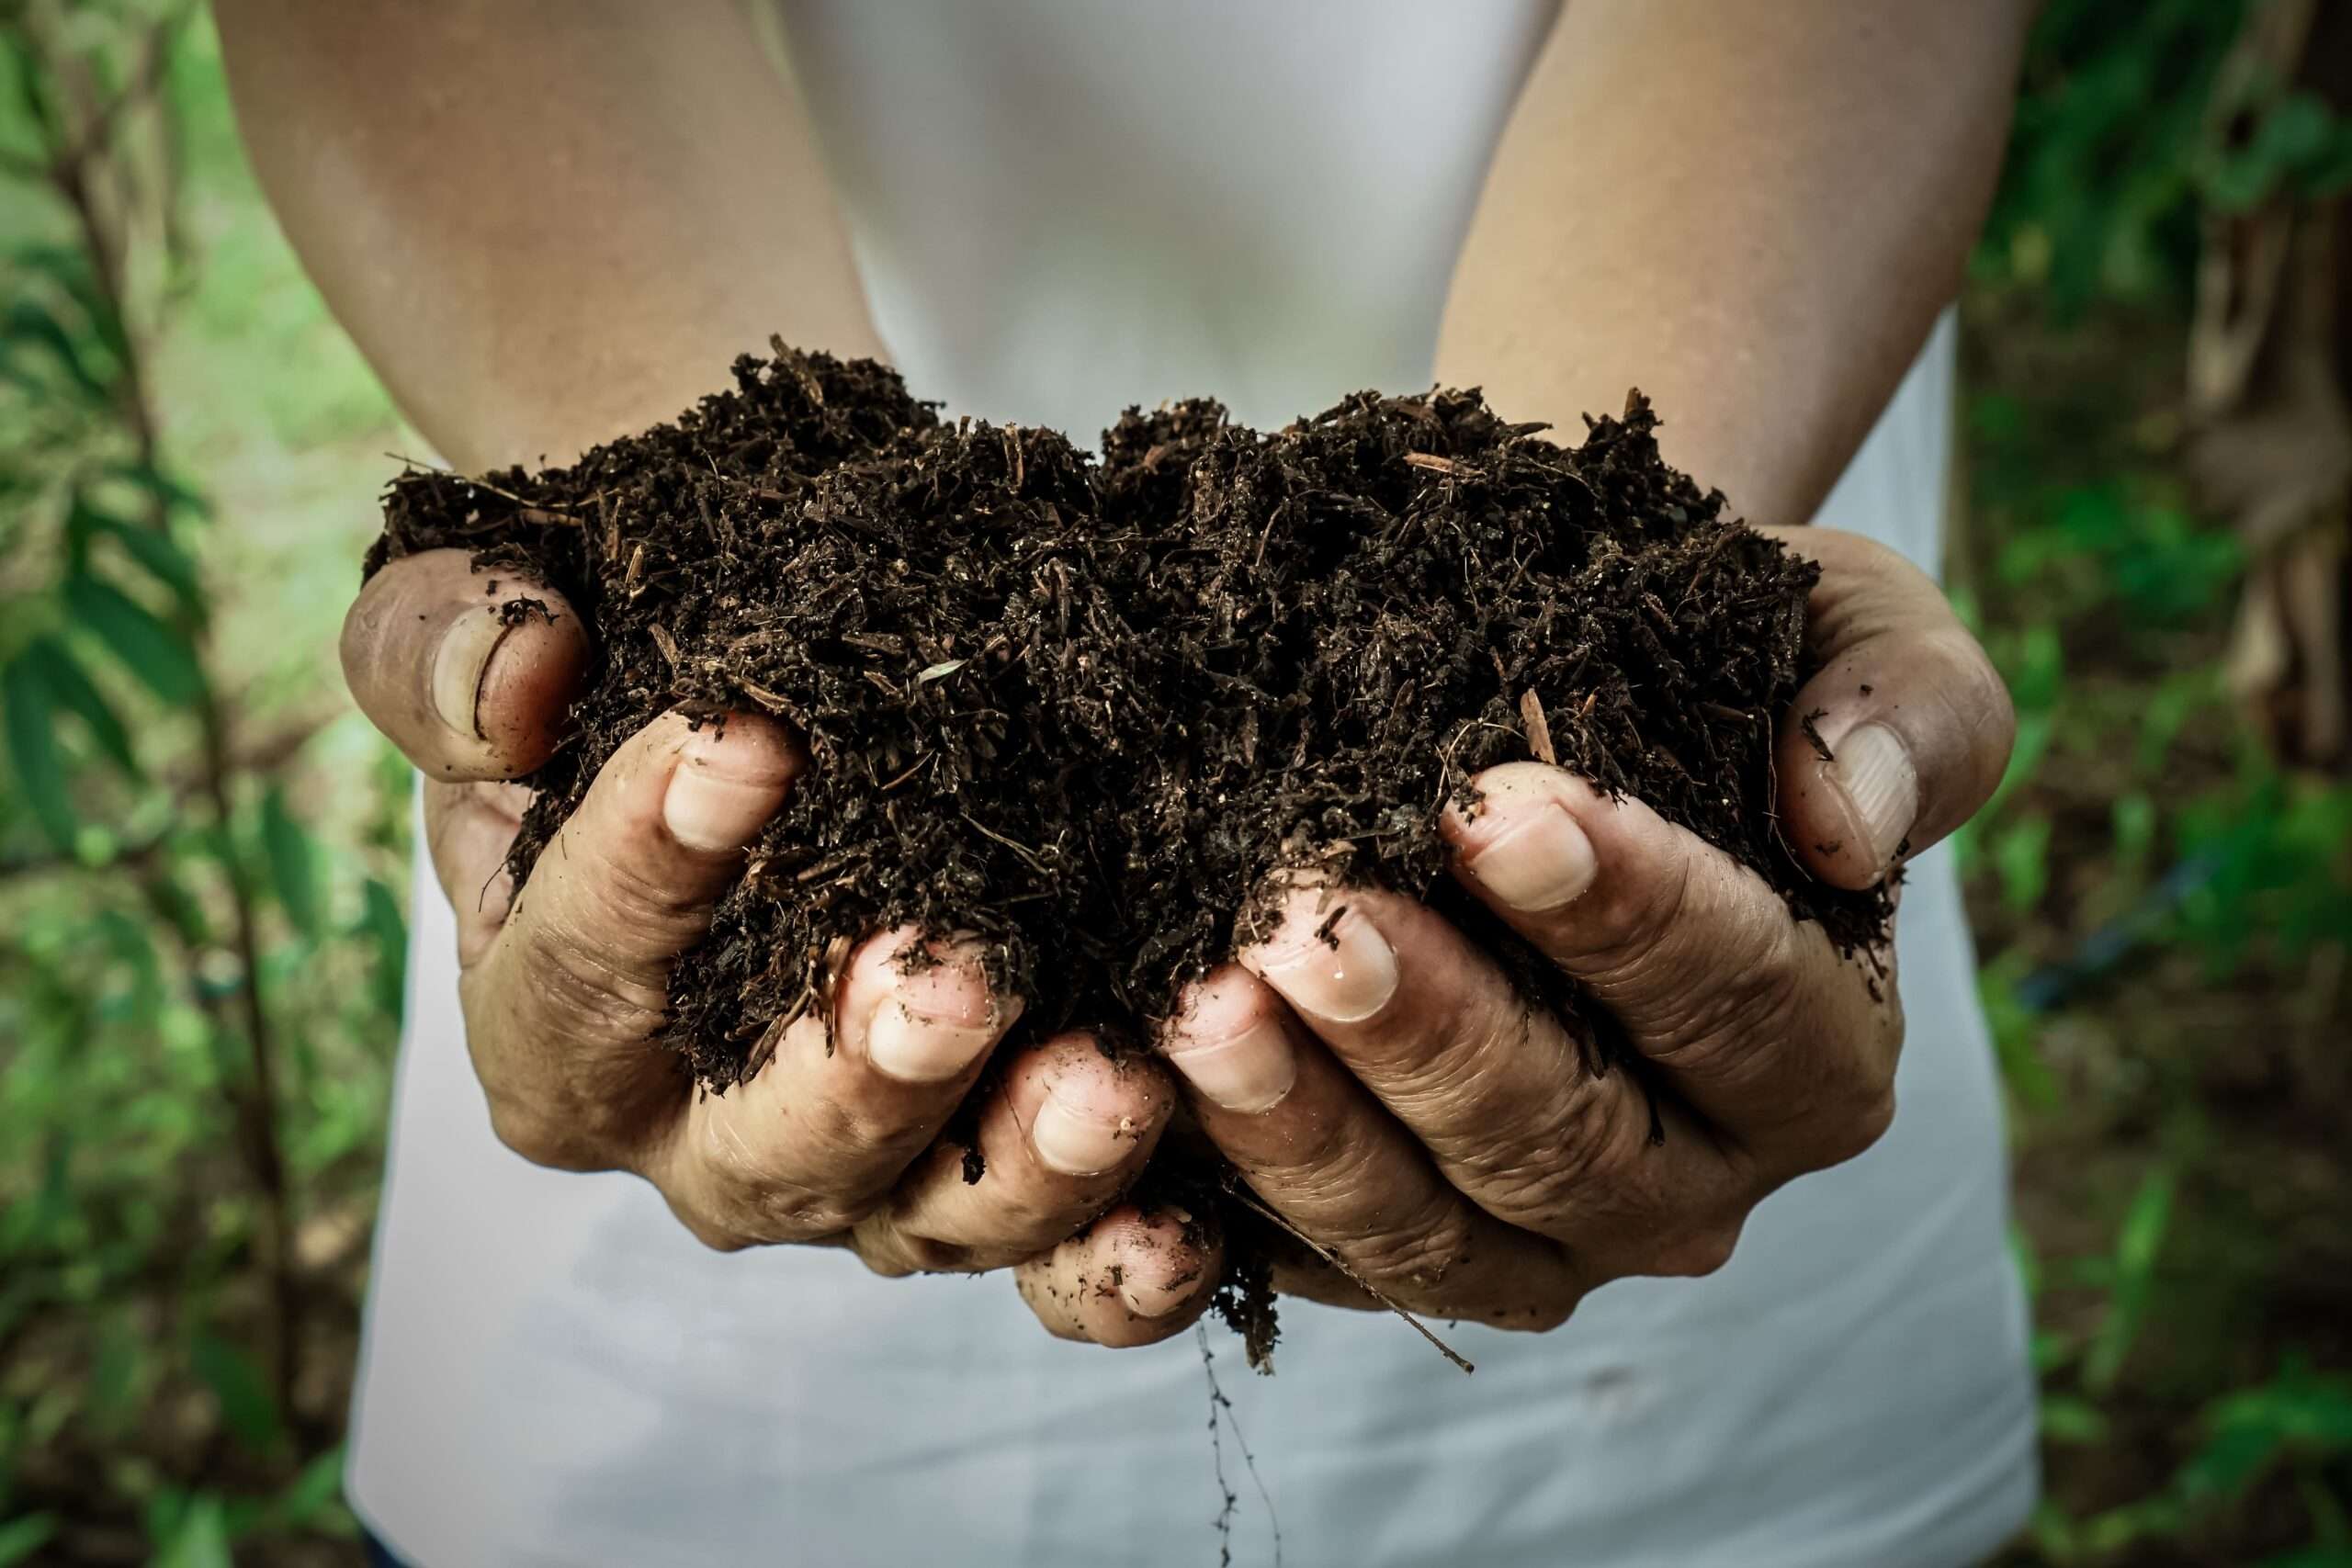
Now it’s time to fill your garden bed. In fact, this is the best part about raised garden beds! You can control what type of soil is used. Soil is rich, full of nutrients and biologically active. It is a living, breathing, dynamic ecosystem of its own. Therefore, our goal here is not to simply fill our raised beds with soil, but to create an optimum living organic raised bed soil where plants can thrive.

We recommend that you purchase a super high-quality blend, such as our Tree & Shrub Mix. For the best results, incorporate some native soil from your area. If your bed is very deep, you may want to consider buying topsoil so help fill out the container.If you are making your own soil, we recommend 50% topsoil, 30% organic compost and 20% sand.To determine the amount needed, you can use our coverage calculator.

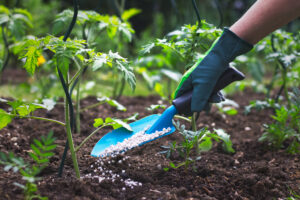
Now it’s time to garden! Check our beds regularly to ensure they are receiving enough water. It is also important to fertilize regularly! If you have any questions, contact your nearest Living Earth®.

Posted on Leave a comment

How To Make Compost

How To Make Compost

Articles

How To Make Compost

How To Make Compost

A Win-Win for the Environment and Your Garden

Compost is organic material that can be added to soil to help plants grow. Learn how to make it and help reduce greenhouse gases! According to the EPA, food scraps and yard waste together currently make up more than 30% of what we throw away and could be composted instead.


Composting is a win-win for the environment and your garden. Follow these simple steps to make your own and you’ll be on the way to leading a more sustainable lifestyle.


How To Make Compost


Start your a pile on bare earth.

This allows worms and other beneficial organisms to aerate the compost and be transported to your garden beds. Lay branches or straw first, a few inches deep. This aids drainage and helps aerate the pile. 

Add materials in layers, alternating moist and dry.

Moist ingredients are food scraps, tea bags, banana peels, etc. Dry materials are straw, leaves, sawdust pellets and wood ashes.

If you have wood ashes, sprinkle in thin layers, or they will clump together and be slow to break down. Add a nitrogen source such as manure or green manure (grass clippings). This activates the compost pile and speeds the process along.

Keep compost moist.

Water occasionally, or let the rain do the job.

How To Make Compost


Cover your pile.

You can cover your pile with most anything, from plastic sheeting to old blankets. They key is to lock in moisture and heat, which are important for it. Covering also prevents the compost from being over-watered by rain. Do not soak compost.

Aerate the pile.

Every few weeks give the pile a quick turn with a pitchfork or shovel. This aerates the pile. Oxygen is required for the process to work and turning “adds” oxygen. You can skip this step if you have a ready supply of coarse material like straw.

Add new materials.

Once you’ve established your compost pile, add new materials by mixing them in, rather than by adding them in layers. Mixing or turning the  pile is key to aerating the composting materials and speeding the process to completion.

 How To Make Compost


Is your compost steaming? A steaming pile means that you have a large community of microscopic critters working away at making compost. Good job!!

Think twice before adding citrus peels, onions and garlic. These materials may repel earthworms, which are vital to a flourishing garden. To learn more about what to use and what to avoid (and why), read below and visit the EPA website.

Compost Recipe

A healthy compost pile should have much more carbon than nitrogen. A basic rule of thumb is to mix 50% green materials with 50% brown (some gardeners use slightly more brown). 


  • Food scraps and yard trimmings can be classified according to their carbon and nitrogen content as either green or brown.
  • Green materials, such as fresh grass clippings, manure, garden plants and kitchen scraps contain large amounts of nitrogen.
  • Brown materials, such as dried leaves and plants, branches, and woody materials have a high carbon content but are relatively low in nitrogen.
  • Living Earth® organic compost is made from locally sourced and blended organic material and transforms even the poorest soils. The finished product is teaming with beneficial microorganisms that go to work improving soil immediately.
  • For best results, Living Earth® recommends incorporating a slow-release nitrogen fertilizer to your compost and soil to support plant growth and fruit production. 
  • Interested in learning more about composting? Contact your local library to find local composting classes.


If you don’t have time to make your own, consider a buying a rotating compost tumbler. The tumbler makes it easy to mix the compost regularly. If you’re unable to generate enough compost at your home, consider Living Earth’s organic compost.


Posted on Leave a comment

4 Steps to Prep Your Garden This Spring

Articles

4 Steps to Prep Your Garden This Spring

Ready, Set, Garden!
Steps To Improve Your Garden

Step 1: Weeding – Get the roots out of there!

The least favorite stage for many: weeding and clearing your area of all unwanted vegetation and rocks. The weeding can be done by hand or use a weed killer appropriate for the weeds you are trying to control. It is essential to do a thorough job. It will be a lot more challenging if you wait until after the beds have been planted.

Step 2: Prepare the soil

The best soil for gardening is rich, crumbly soil. Loosen the soil by tilling it. If you are working under a tree, use a pitchfork to minimize damage to the tree roots. Avoid severing roots larger than an inch in diameter.  

Do not over-till soil as it can result in a fine, powdery dust that packs hard like concrete when dry weather follows rain.

After the soil is broken up, spread three inches of organic matter, such as our exceptional compost, overSteps To Improve Your Garden 
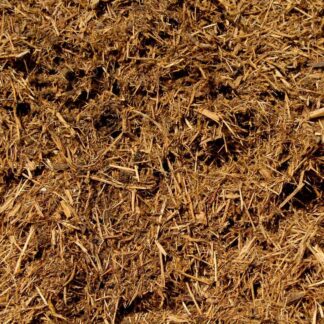
the surface and work it in, aiming for a 50:50 blend of soil to compost. If you till three inches of soil, add three inches of compost.


To improve clay soil, blend in as much expanded shale as you do compost. You can save yourself a step by using Living Earth’s Clay Soil Conditioner, which is a blend of compost and expanded shale.

Step 3: Fertilize the soil

Plants need to eat just like you do. Until the soil finds its natural balance, it is essential to use fertilizer, especially for vegetables and blooming annuals. We recommend adding either an organic or time release fertilizer to maintain the proper nutrients. Now you are ready to plant.

Steps To Improve Your Garden

Step 4: Mulch the garden

Once you have your planting done, we strongly recommend with mulch. Mulching is one of the best management practices to improve or maintain optimum plant performance in a landscape. With mulches properly applied, many soil- and plant-related benefits can be realized, including:

  • Reduces watering needs
  • Improves the appearance of bed areas… It just looks good!
  • Adds valuable organic material to the soil as mulch decomposes
  • Reduces soil loss and soil erosion during wet periods
  • Moderates hot and cold temperature extremes
  • Deters weed growth (weeds = maintenance!)

Add mulch to a depth of three inches but be careful not to pile mulch around the base of the plant or tree. This creates excessive water accumulation around the plant base and can cause root and stem rot problems.

Be sure to mulch two or more times a year to help hold moisture in the soil.  Organic mulches are preferential to inorganic ones. Organic mulches eventually decompose, returning valuable nutrients slowly to the soil. Inorganic mulches, such as those made with glass, rubber or stone, do not provide the nutrients.

When it comes to organic mulch, Living Earth has you covered. Check out our Native Hardwood Mulch, Shredded Hardwood Bark Mulch, Cedar Mulch, Colored Mulches and Pecan Mulch.

Use our coverage calculator to determine how much soil, mulch and/or rock is needed for your project!

*Product availability varies by location so be sure to double check


Posted on Leave a comment

The Benefits Of Xeriscaping

Articles

Benefits Of Xeriscaping

The Benefits Of Xeriscaping

Save Water and Time

Why xeriscape? The primary reason is simple. To save water. The idea behind xeriscaping is to create a beautiful landscape while conserving water resources to the greatest extent possible.

Xeriscaping acknowledges the limitations and the possibilities inherent in your unique property and location. A xeriscape landscape can support wildlife, maintain healthy soil and reduce runoff of harmful chemicals into water ways.

Carefully chosen plants will attract honeybees, birds and butterflies.


Requiring less water, a xeriscape takes advantage of native, drought-hardy plants, along with hardscaping and decorative elements. The best part? Xeriscaping will save water and requires less maintenance than a lush green yard filled with non-native flowers, plants and shrubs.


Saves water

The most obvious benefit 
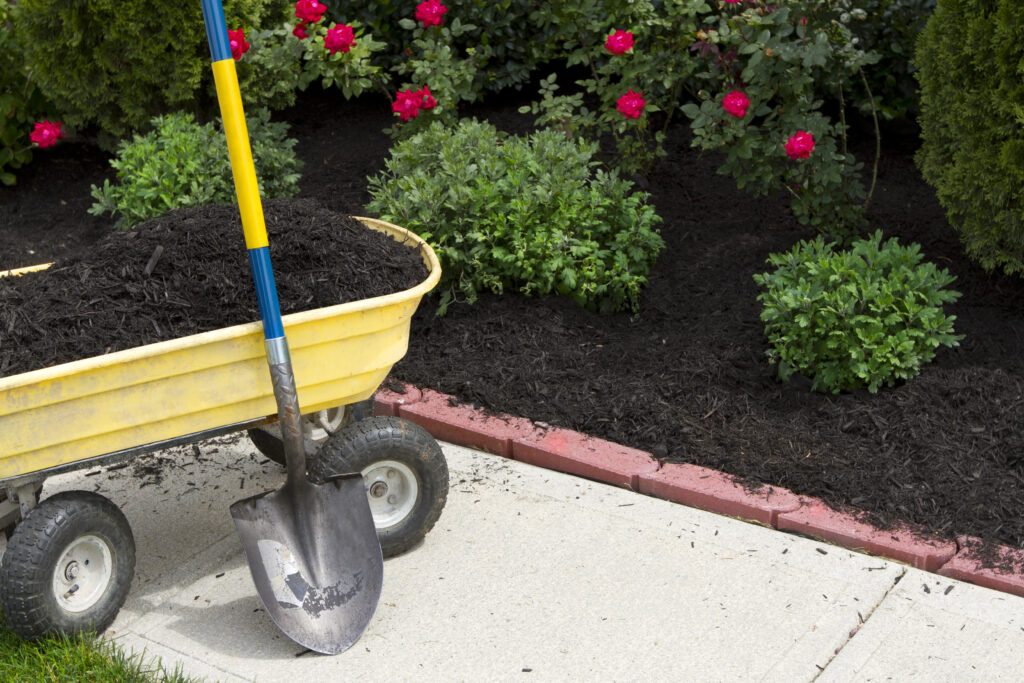
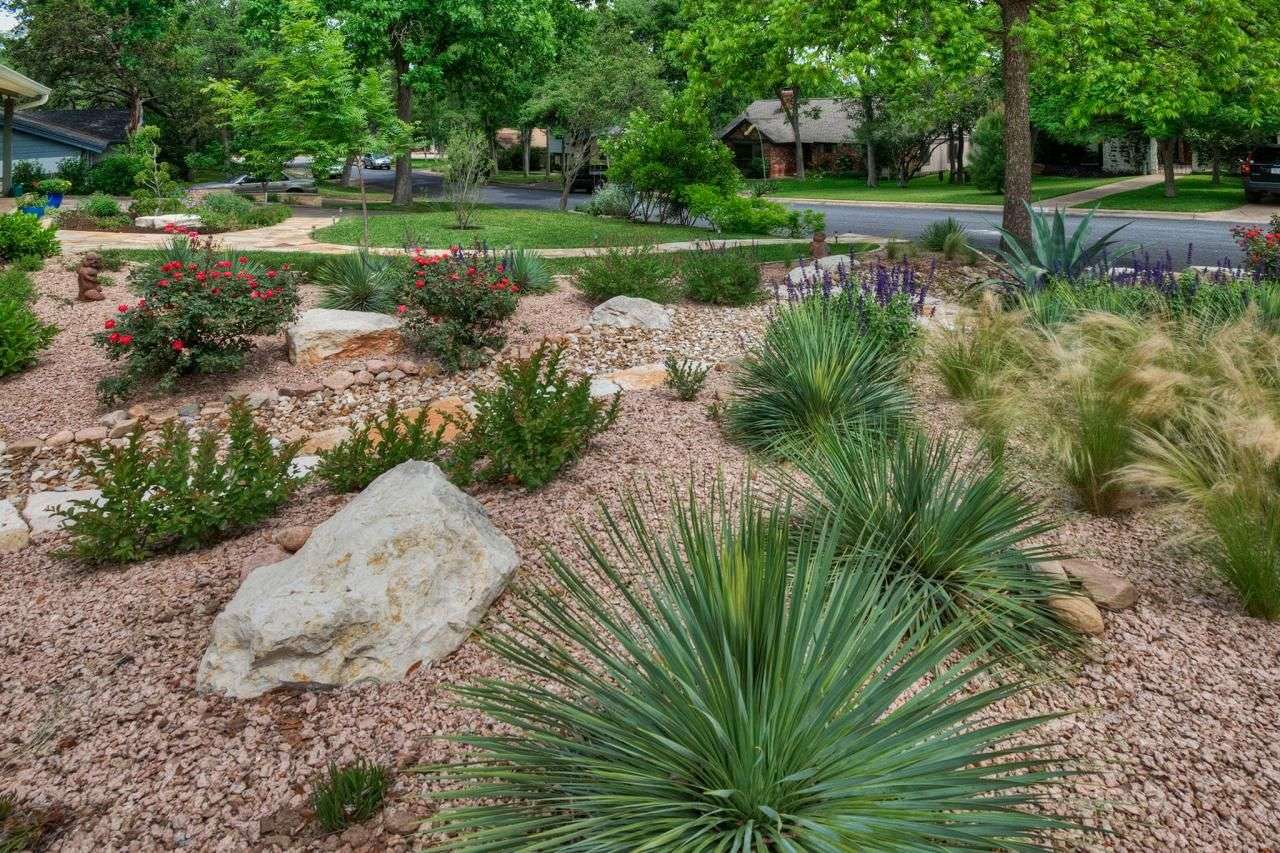
of a xeriscape is that it requires significantly less water. In an era plagued by low rain, it’s a huge advantage to reduce your water usage as much as 50%(depending on where you live)! The less you depend on water to enhance your landscape, the better.

Low maintenance

If you are busy or physically limited, watering, pruning and weeding can be daunting. However, if you incorporate drought resistant plants, rocks and stone into your landscape, there should be fewer hands-on tasks.


Looks great year-round

Without annuals to tend to, grass to water and excessive weeding, you are more likely to have a yard thatlooksamazing all year long.


Disadvantages

As with most great things in life, there are a few challenges to consider before embarking on your new xeriscaping journey:

  • The amount of work needed in the early stages of your landscape installation will be significant
  • Your property may have a spars aesthetic
  • If not done properly, replacing lawn with xeriscaping can cause more heat to radiate into a house
 

If you, like us, can see the myriad of benefits and you are ready to make the leap, keep in mind that Living Earth® specializes in various rock types and can help you select the ones you need for beauty and function. When you’ve placed your order, we’ll even deliver* it for you so you we’ll be with you from conception to completion as you incorporate rocks into your landscape.


*Minimum order and delivery fee applies.

Posted on Leave a comment

Which Soil is Best for Plant Growth?

Articles

Which Soil is Best for Plant Growth?

             
               POTTING SOIL, GARDEN SOIL AND TOPSOIL

When it comes to gardening, soil is key. But which soil is right for your
project: potting soil, garden soil or topsoil? Here’s an overview that will help.

Plant Growth Soil; Potting Soil

Potting soil 

Potting soil is for use in containers only. Interestingly, the blend doesn’t contain soil. Instead, it’s often a mixture of peat moss and other organic materials like composted sawdust. For potted plans, the mixture itself is more important than the fertility offered by traditional soil. 

Potting soil is usually lightweight as organic matter is less dense than soil minerals. It should have high water-holding capacity but drain excess water rapidly. Potted plants must be fertilized regularly. Any nutrients from the decaying organic matter is quickly depleted.

Garden soil
Garden soil is usually a blend of topsoil and other materials and nutrients
like compost and fertilizer designed specifically for garden beds. Garden
soil comes in different mixtures, designed for specific types of plants.
Organic garden soil tends to be more expensive than topsoil.

Topsoil
Found naturally, topsoil is the most valuable layer of soil as it is filled with
organic matter (living, dead and decaying organisms). Store-bought topsoil
is usually a blend of mineral mixture that’s been collected (usually from
somewhere like a construction site) and compost. 

If you buy organic topsoil, it should contain matter such as shredded wood, moss and peat. In general, use garden soil in garden beds for planting in flower or vegetable beds. Use topsoil for larger projects or if your lawn or garden is in need of greater soil volume.

Living Earth® carries a variety of specially blended soils that are designed for specific needs such as our high quality Potting Soil (TX), Mixed Soil with Compost (Houston) and Texas Black Screened Topsoil (DFW).

Before ordering, use our coverage calculator to determine your soil coverage needs. Contact us to learn more about our soils and which one is best for your home gardening project.

Would you like to learn more about soil? Visit the USDA website for an easy-to-follow primer on the components of soil.


Posted on Leave a comment

Use Compost To Improve Your Garden

Gardening And Landscape Supplies

Articles

Use Compost To Improve Your Garden

Compost WILL Help Your Plants Thrive

Are your plants and flowers losing their vibrancy? If so, your soil could be lacking essential nutrients. Over time nutrients can become depleted even in otherwise healthy soils. Use compost for healthy soil, which is important for growing strong, vigorous plants more resistant to pests and diseases. 

Feed your soil with organic matter

Soil is alive and it needs to be fed properly. The addition of organic matter will enable your soil to release its store of nutrients making them available for your plants. Organic matter is derived from once living organisms such as plants, leaves, manure and grass clippings.


Soil + Organic Material = Texture, Drainage & Aeration

Compost is decomposed organic matter. It’s the best thing you can use to improve the health of garden soil. To sustain plant life, the proper mix of air, water, nutrients and organic material is required.

Add compost to your garden as a soil amendment to improve soil structure, buffer pH, increase the population of micro-and macro-organisms and add organic material on which soil organisms feed. 


Healthy gardens may not require tilling or digging but you can still use compost.

There are different ways and times to use compost. If you have light, rich garden soil, use compost as a mulch to maintain your garden. It isn’t necessary to till. Once prepared, simply spread the compost on top as a mulch layer. Worms, rain and natural elements will naturally blend in the compost. If you spread it in the fall, your garden soil will healthy and ready for planting by spring.

How to add compost to poor-quality soil.

If your garden has poor soil structure, too much sand or clay, if it is compacted, or if it lacks organic matter, then consider blending in about two to three inches of compost into two to three inches of existing soil.

Overall, compost builds excellent soil for your garden, releases valuable nutrients locked-up in clay soils and reduces the leaching of nutrients in sandy soils, all the while improving soil texture and structure.

Leave the leaves.

Leaves may be collected and worked directly into garden and flowerbed soils. In fact, you can till in a layer of leaves to clay soil to improve aeration and drainage. 

Add leaves to light, sandy soil to improve water and nutrient holding capacity. In vegetable gardens and annual planting beds, collect and work leaves into the soil during the fall. This allows sufficient time for the leaves to decompose prior to spring planting.

Don’t forget the mulch!

Add an organic mulch like our 100% Aromatic Cedar Mulch (TX) to your garden. The mulch will slowly decompose and add organic matter to the soil to increase fertility. Improving garden soil is an ongoing process that takes time.

The reward? Robust, thriving plants.

For more information on improving your soil, please contact a Living Earth® representative.

Posted on Leave a comment

Reduce, Reuse And Recycle

Articles

Reduce, Reuse And Recycle

It’s a simple formula with long-term impact: reduce, reuse and recycle. Whether we are talking about how we farm and garden, what we eat, how we live or what we do with our trash, it’s vital to take care of our bodies and earth.

Practice the 4 Rs: Reduce, Reuse, Recycle and Review (or Refuse!)
Reduce your trash.

Consider opportunities use materials efficiently and reduce your output of waste. The average person throws out more than 1,600 pounds of trash, according to the EPA. However, if you compost, you can save approximately a 1/2 pound per day!

There are 40 million acres of lawn in the U.S. and, according to NASA, it’s the  single most irrigated crop. It can take 238 gallons of fresh water (often drinking quality!) per person, per day to keep these lawns pert and verdant.

Reuse materials.

Organic materials such as compost and tree clippings can be used for mulch. Similarly, rainwater can be saved to use for watering. From donating appliances and clothing to saving containers to reuse for storage, learn more about reusing from the EPA.

Recycle to save resources.

This is perhaps the most common way for people to “go green”. However, it’s important to consider the item BEFORE buying it. Can it be recycled? Every product has a limited lifespan. For example, the same piece of paper or plastic can only be recycled two to three times.

Review consumption.

In fact, reviewing is likely one of the most important steps. Make it a habit to take stock of your consumption. For example, what type of waste is your household is producing? Before you buy consider it’s worth, do you need it, can it be reused or recycled? Are there more environmentally friendly alternatives? If not, perhaps it’s time to refuse.


Eco-Friendly Tips

  1. Learn to compost and reduce harmful methane released into the atmosphere.
  2. Recycle everything possible.
  3. Skip the greasy pizza boxes. Typically, oil from the pizza seeps into the paper fibers, making them impossible to separate and properly recycle. However, even the greasiest pizza box is perfectly compostable, once you tear it into smaller pieces.
  4. Further, stop using disposable paper cups. Hot or cold, these are often lined with a waxy material that makes them impossible to recycle.
  5. Check the number on your plastics. Look for a small triangle with a number in the center. Generally, the higher the number on the container, the less likely it is that American waste haulers will recycle it, but this varies, so check with your recycling center.
  6. Say no to plastic bags. Most recycling facilities cannot accept plastic bags. For instance, by disposing of your recyclables in a plastic bag, you are creating another barrier to ensuring your items get recycled. However, many grocery stores, take plastic bags as well as plastic film from packaging and packing materials. Visit plasticfilmrecycling.org to find a drop-off location near you.
  7. Keep it capped. Loose plastic bottle caps and jar lids fall through recycling equipment and are swept into the trash. Put caps back on their bottles to ensure they’re recycled.
  8. Reuse everything you can – from water to clothing.
  9. Consider what you are buying: Do you really need it? How long will it last? 


In conclusion, everyone contributes to the world’s waste but how can you reduce your impact? Help prevent greenhouse gas emissions, prevent pollution, save energy, save money and sustain the environment for future generations. The time for change is now.

Posted on Leave a comment

Stop Weeds In Their Tracks

Articles

Weeding Tips

Stop Weeds In Their Tracks

Mulching Helps Your Garden Grow

Weeds are aggressive and invasive. They can crowd out desirable plants, dominate space, compete for moisture and nutrients. And, let’s face it, weeds just look bad! To give your beloved plants room to grow and thrive, follow these weeding tips:


GET THE WEEDS OUT OF THERE!

The least favorite but most important step to combating weeds is pulling weeds. It may sound redundant but, done properly, this step will help minimize future growth. Most weeds have the power to regenerate readily from left-behind roots – sometimes stronger than before.

PROTECT YOUR WORK WITH MULCH.

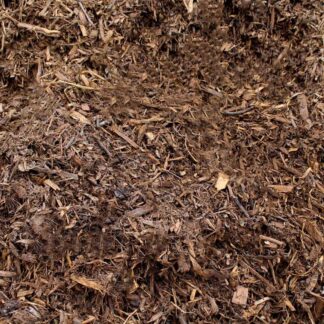
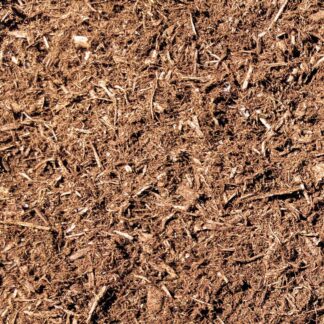
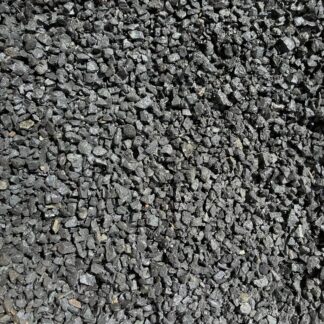
Mulch provides soil insulation, helping to retain moisture and prevent erosion. One of its most desirable effects is weed suppression. The good news is, there are many colors, types and textures from which to choose so it is aesthetically pleasing. For the healthiest garden, select organic products like Living Earth’s 100% Aromatic Cedar Mulch (Texas) Pine Bark Mulch (Texas and Nashville), Premium Colored Mulch (which is available in a variety of colors in Texas and Tenn.) and more. Learn more about organic mulch.


GARDENER TIPS

  • Lay down your mulch after you have thoroughly weeded.
  • Use a thick enough layer to discourage new weeds from breaking through it. To discourage weeds, we recommend as much as a four-inch layer of mulch. (A two-inch layer is usually enough in shady spots.)
  • Apply mulch methodically. In spring, pull mulch away from perennials and bulbs for faster growth. Wet mulch piled against the stems of flowers and vegetables can cause them to rot.
  • Keep deep mulch pulled back from trunks as well. Mulch piled up against woody stems of shrubs and trees can also cause rot and encourage rodents (such as moles and mice) to nest there.
 

ORGANIC OR INORGANIC MULCH?

  1. If you think about it, organic mulch is the only way to go. It’s made of organic matter. It attracts earthworms, which help compost the material even faster over time.
  2. As your mulch composts, it encourages the growth of beneficial soil microorganisms, adding more organic matter to soil for healthier plants.
  3. Inorganic mulch is a great barrier for weeds, but it doesn’t add important nutrients to your soil.
  4. The advantages touted such as inexpensive price and longevity does not outweigh the facts that inorganic mulch is made of materials such as plastic, stone and rubber, which can heat up the soil and – when they do break down – they aren’t good for the earth.


TIME TO START GARDENING!